Pants Guide & 585×559 PNG Downloads
Roblox Pants Template and Design Guide
585 × 559 px Standard Size•Updated Monthly•Author: BloxLux 3D Team•Transparent PNG Layout
Nothing finishes off a custom avatar outfit like a clean pair of jeans, baggy cargo pants, or matching sneakers. Whether you are making clothes just for yourself or starting your own Roblox clothing store, every pair of bottoms starts with the Roblox pants template.
When you use a pants template in Roblox, your flat 2D picture wraps all the way around your character’s waist, both legs, and feet in 3D. For everything to fit right without getting blurry or stretched, your Roblox pant template has to be saved at 585 × 559 pixels as a transparent PNG. Down below, you can grab the clean pants template for Roblox, see which box goes on which leg, and test your pants live in 3D before you upload.
Leg & Waist Layout
How a Roblox Pants Template Folds Around the Legs
While a shirt template uses the bottom boxes for the arms, a pants roblox template uses those bottom boxes to wrap around the Right Leg (on the bottom-left) and the Left Leg (on the bottom-right). The big Torso box in the middle is there in case you want to draw a belt, high-waisted jeans, or overalls that go up onto the chest.
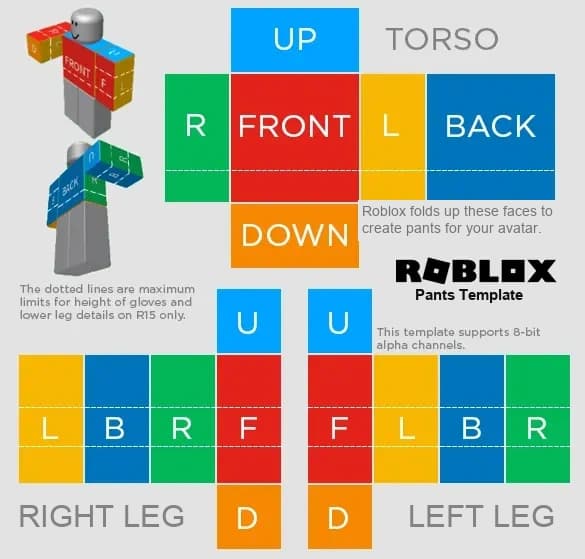 Leg & Waist Guide585 × 559 px
Each leg side has its own color so you never get lost: Red (F) is the front of the leg, Blue (B) is the back, Green (R) and Yellow (L) are the sides, Light Blue (U) is the top of the hip, and Orange (D) is the bottom of the foot.
Pants Size Cheat-Sheet
Use these exact box sizes so your pockets, rips, and shoes don’t look blurry.
Full Image Size585 × 559 Pixels
File TypeTransparent PNG
Leg Strips (F / B / L / R)64 × 128 Pixels each
Hips & Shoe Bottoms (U/D)64 × 64 Pixels each
Waist & Upper Body128 × 128 Pixels each
Shoes & Sneakers AreaBottom 25–32 px of Legs
Interactive 3D Pants Preview (See How It Wraps)
Click and drag to spin the character 360° and see how the flat template folds around the waist, legs, and feet.
Loading 3D Avatar Preview...
Drag to rotate 360° • Scroll to zoom
Easy Step-by-Step Guide
How to Design Custom Roblox Pants Templates in the BloxLux 3D Editor
Making a custom pants template roblox players love is way easier when you can see your changes in 3D as you draw. Inside the BloxLux Editor, the bottom 2D grid is built just for pants—so you can upload images, draw pockets or rips, and add text down the leg while watching your character update live.
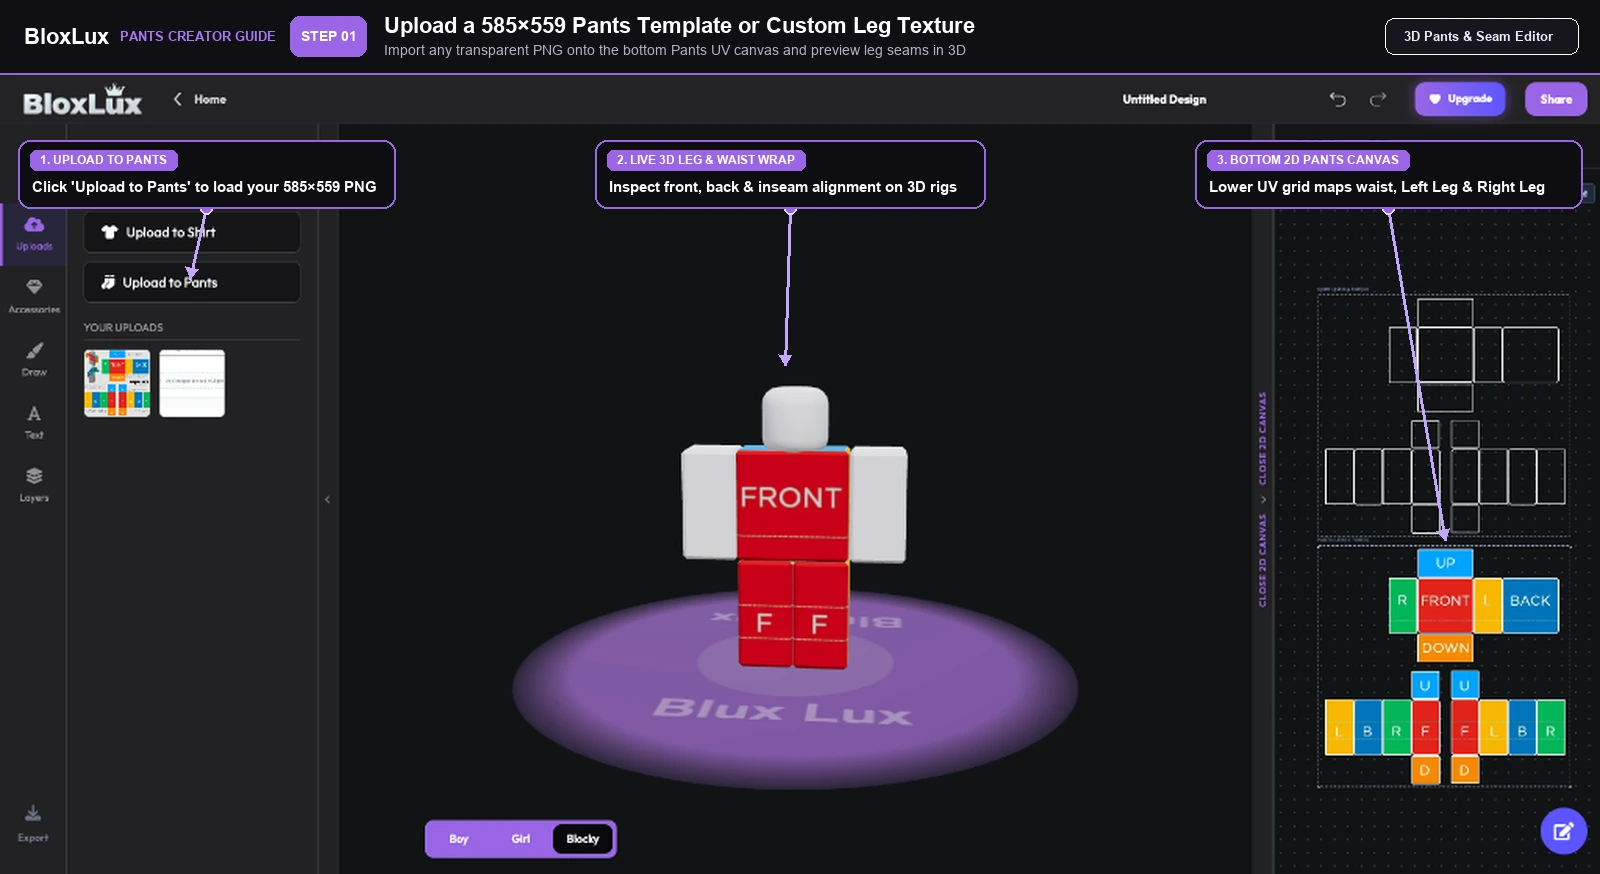
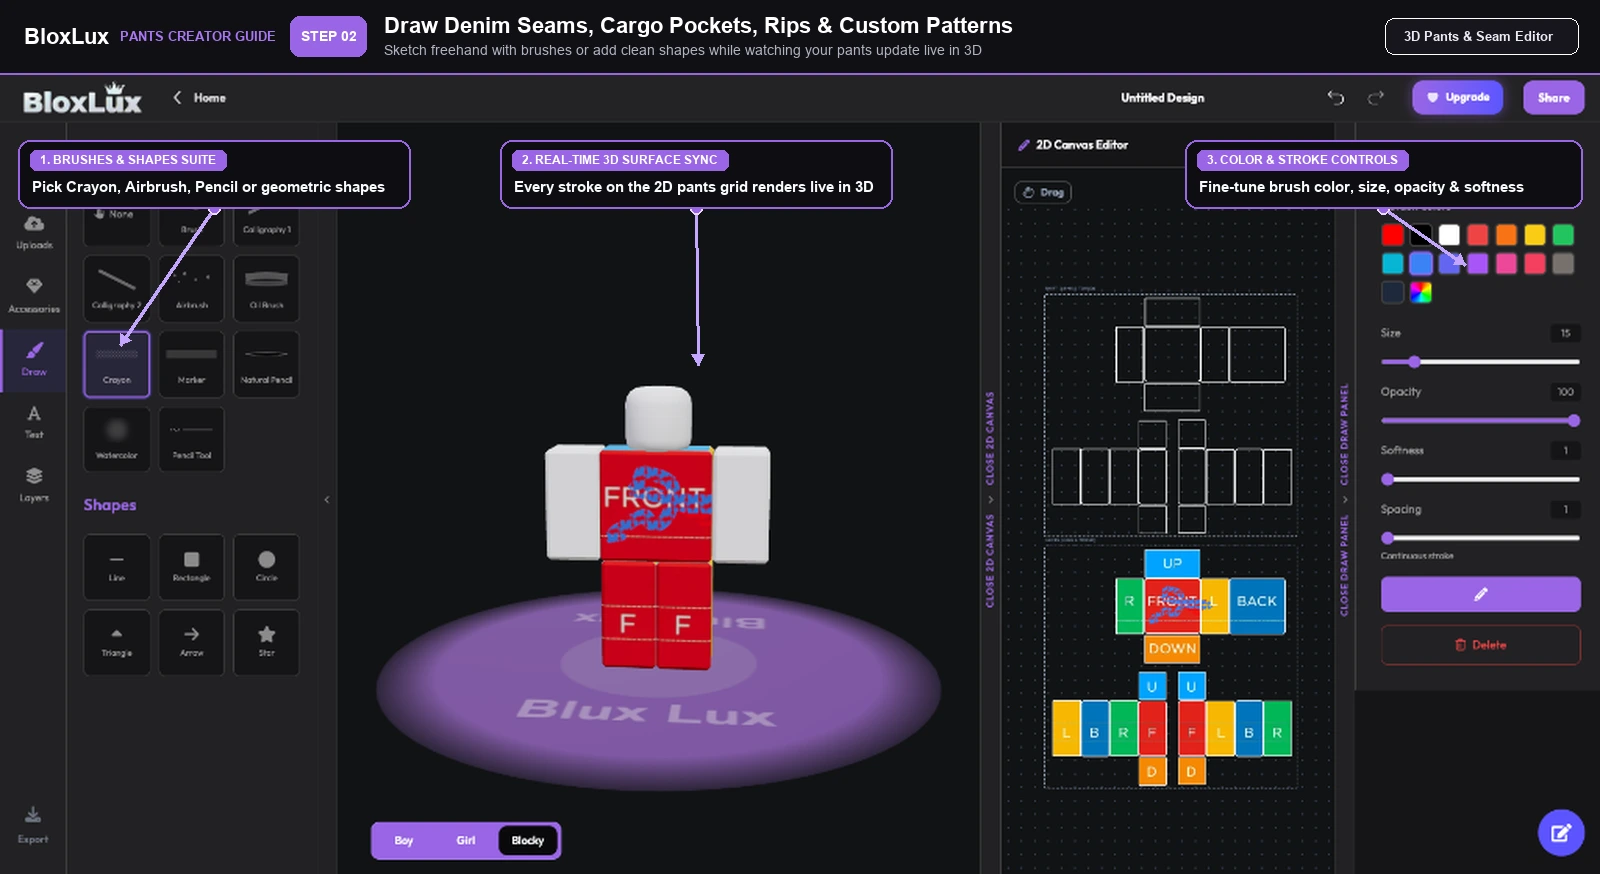
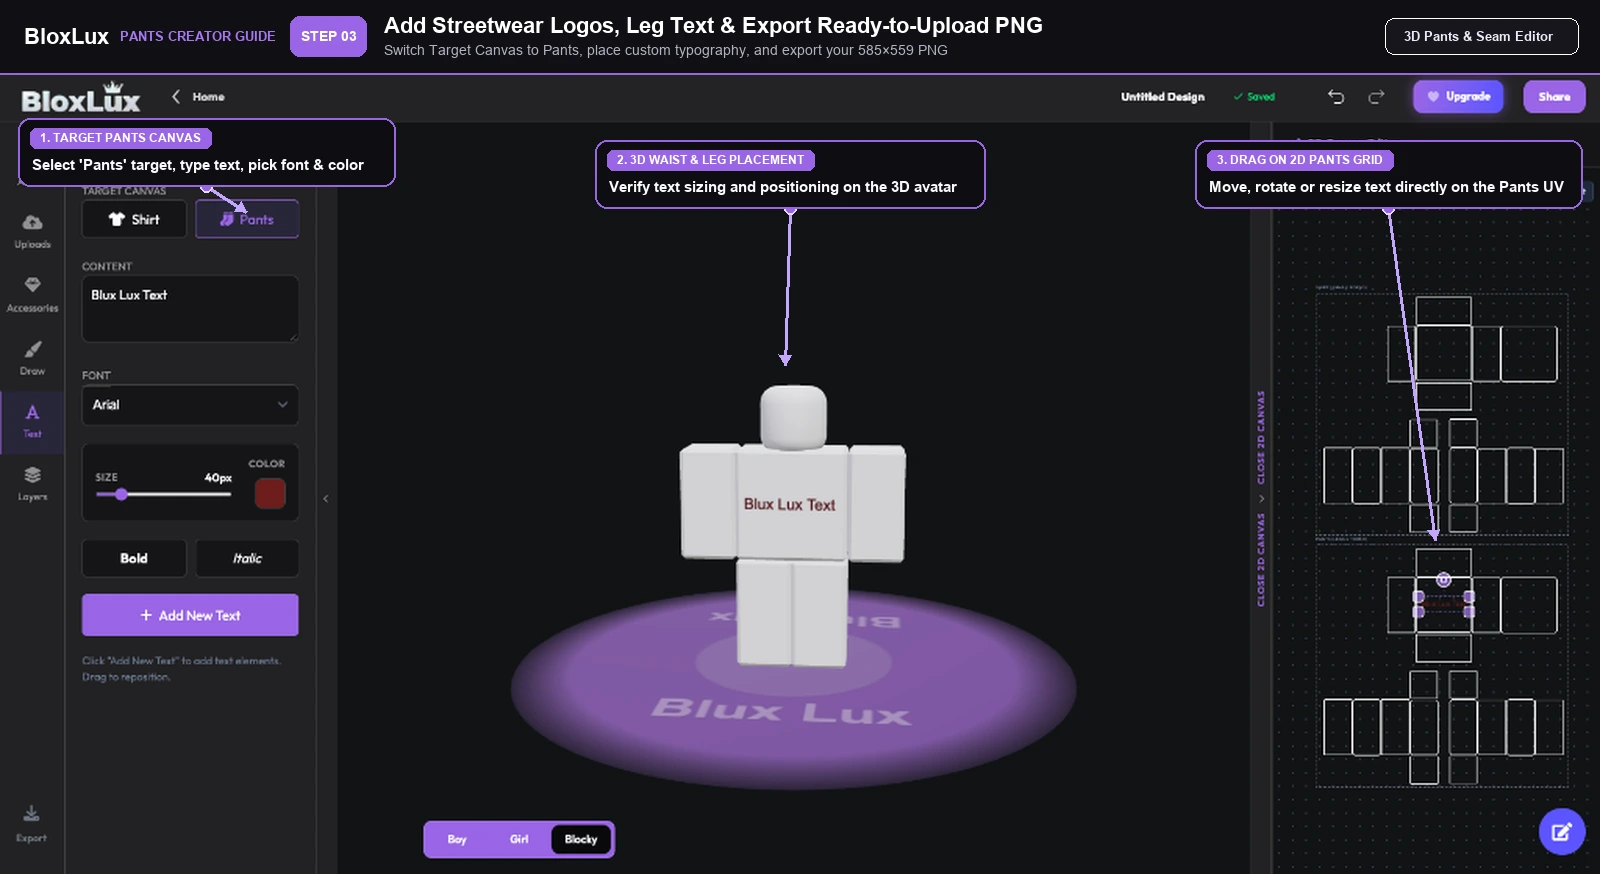
Step 01 of 03•Uploads Tool
Upload a Pants Template or Your Own Designs
Drop in any 585×559 PNG and see it wrap around the legs in 3D right away
Click Uploads on the left menu and hit "Upload to Pants". Your image drops right into the bottom 2D pants grid and wraps around the 3D character’s waist and legs immediately. You can spin the model around or switch between Boy, Girl, and Blocky body shapes to make sure everything fits.
Fits automatically into the bottom 585×559 pants grid
Shows how the front, back, and side leg seams line up live
Test the fit on Boy, Girl, and Blocky characters in one click
Quick Tip: Try uploading the color-coded guide first so you can see exactly where your pockets, knee rips, and shoes land on the legs.
01
Open the 3D Editor
Open the BloxLux 3D Editor right in your web browser. Nothing to install—it works on your computer, tablet, or phone.
02
Use the Bottom Pants Grid
Click Upload to Pants or draw inside the bottom 585×559 box, which puts your design straight onto the character’s waist and legs.
03
Draw Pockets, Belts & Jeans
Pick your colors and use the brushes, shapes, or pre-made accessories to add belts, cargo pockets, and cool leg patterns.
04
Add Shoes & Ripped Knees
Draw sneakers at the very bottom of the leg strips, color the D boxes for the bottom of the shoes, and leave blank spots for ripped knees.
05
Spin & Check the Legs in 3D
Spin the 3D avatar all the way around to make sure your side stripes, pockets, and shoes line up cleanly on both legs.
06
Download & Upload to Roblox
Hit Export to save your 585×559 PNG, then go to the Roblox Creator Hub under Classic Pants and upload it for 10 Robux.
Ready to Make Your Own Custom Pants?
Jump into the 3D Pants Editor now to draw jeans, add pockets and text, and see how they look on Boy, Girl, and Blocky avatars.
Check Before You Pay
How to Preview Roblox Pants in 3D Before Uploading
Uploading pants to Roblox costs 10 Robux every time, and Roblox doesn’t give refunds if a pocket looks crooked or your shoes don’t line up. Testing your roblox pants template png on our 3D model first lets you spot and fix any mistakes for free.
1. Upload Any 585×559 Pants File
Pick your saved pants PNG from your computer or phone and watch it wrap around the 3D legs right away.
2. Check the Legs & Shoes in 360°
Spin the character around to check the waistband, side seams, knee rips, and the bottom of the shoes.
3. Try It on Different Body Types
Switch between Blocky, Boy, and Girl characters in one click to make sure your pants look good on everyone.
Instant 3D Pants Checker
Want to test your pants design in 3D right now?
Open the BloxLux 3D Pants Previewer to check any 585×559 pants file before spending Robux on Roblox.
Ready-to-Use Pants & Bottoms
Popular Pants Templates Ready to Remix
Click any pair of pants or tracksuit bottoms to customize its 585×559 layout in the 3D editor.
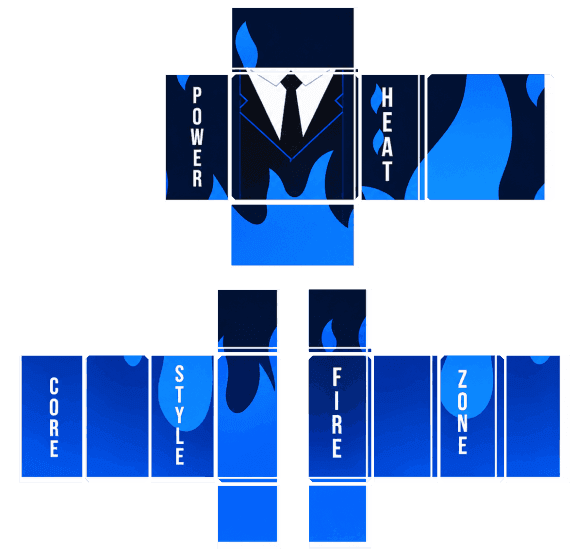
Blue Flame Suit Pants
by Asadrith585×559
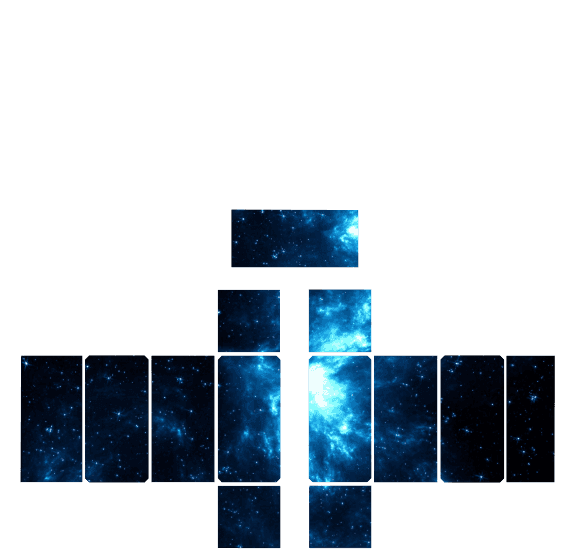
Gir Shirt and Galaxy Pants
by victoria585×559
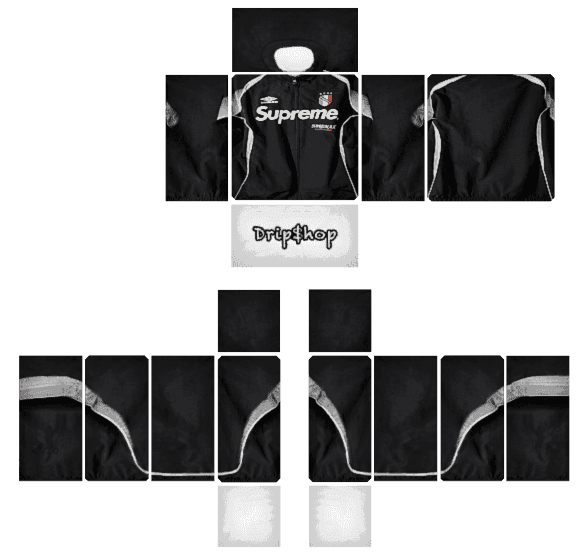
Supreme Tracksuit Bottoms
by imran younas585×559
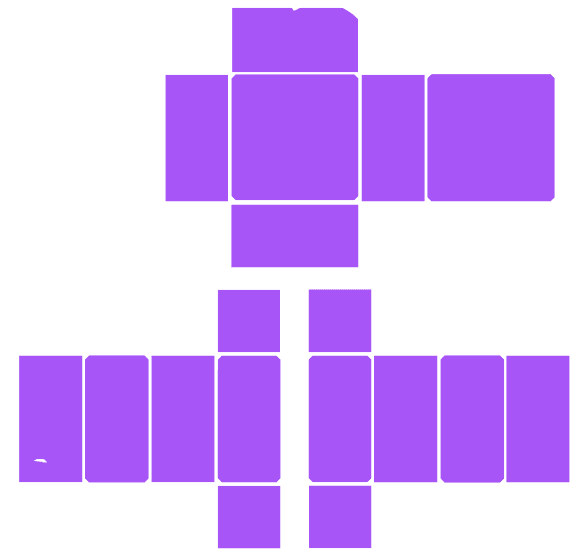
Purple Feminine Jumpsuit
by Patrick Cabrera585×559
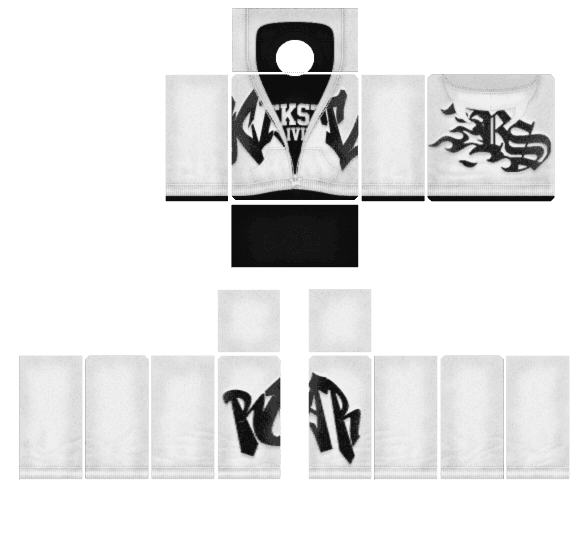
Rockstar Graffiti Track Pants
by MD Kamran Ullah 1462585×559
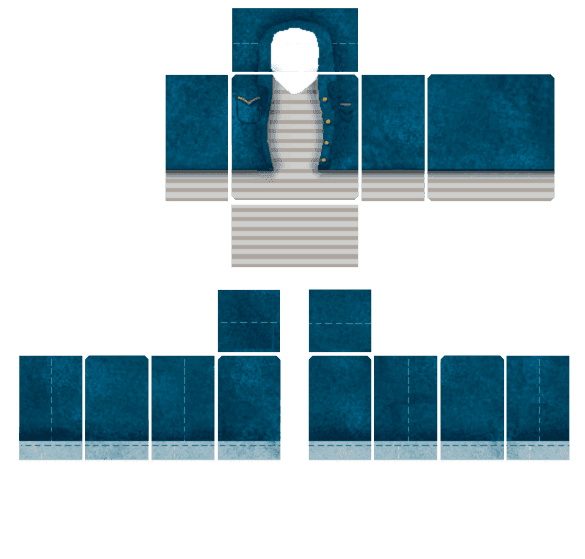
Classic Denim Jeans Layers
by MD Kamran Ullah 1462585×559
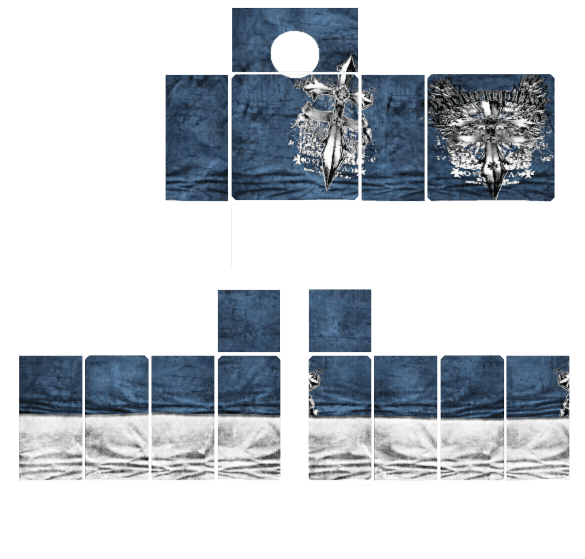
Blue Cross Baggy Denim Set
by MD Kamran Ullah 1462585×559
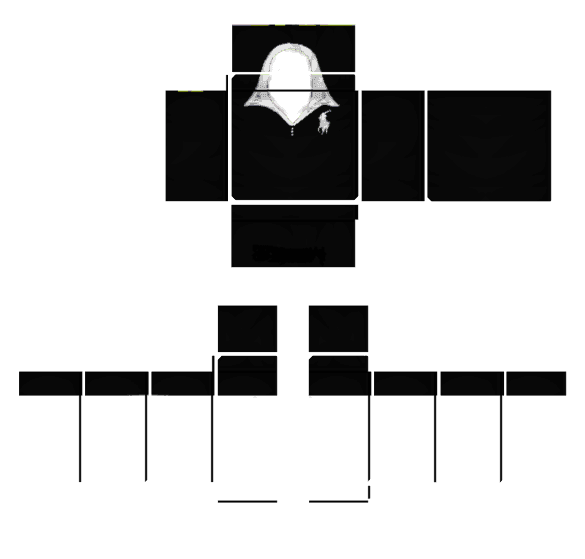
Black Polo & Track Shorts
by MD Kamran Ullah 1462585×559
Frequently Asked Questions